What's new in Rapchat: share songs as videos, 6 new languages, and clutch bug fixes
Share songs as videos, upload beats from your phone, an in-studio lyrics overlay, 6 new languages, and a brand new Help Center on web. Here's everything we shipped.
Tips, tutorials, and updates from the Rapchat team
Share songs as videos, upload beats from your phone, an in-studio lyrics overlay, 6 new languages, and a brand new Help Center on web. Here's everything we shipped.
Shouts to the winners of the Blessings and Chanel challenge! Check out the winning tracks and see who took home the $100 prizes.
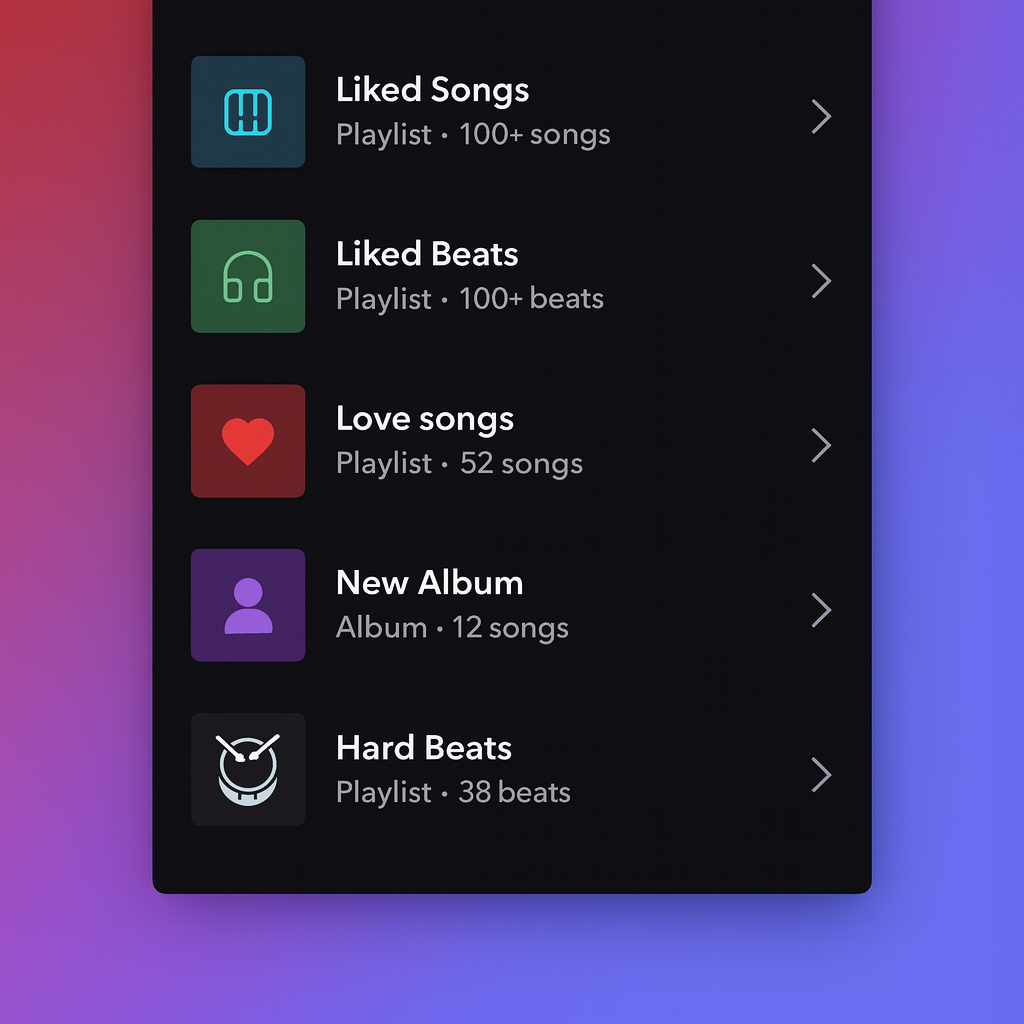
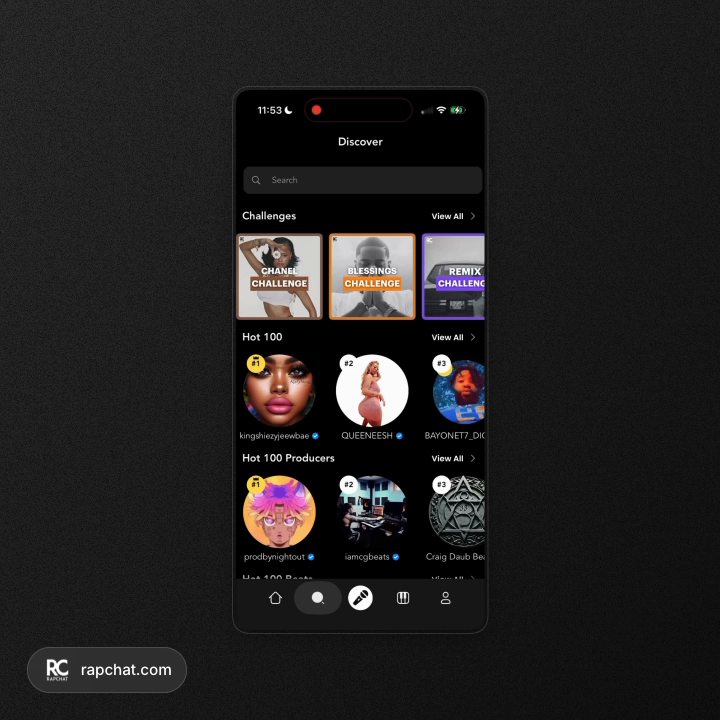
Rapchat iOS 12.0.0 brings you new ways to organize, discover, and collaborate. Download the latest version now! 🔥 1. Organize beats & songs with playlists You can now create, share, and follow playlists of beats and songs. Your “Liked” content automatically organizes itself into dynamic playlists so you never lose track of your favorites. To get started, go to any song or beat and tap the menu option to add it to a playlist. Then choose "create new playlist" and start adding your tracks! Yo
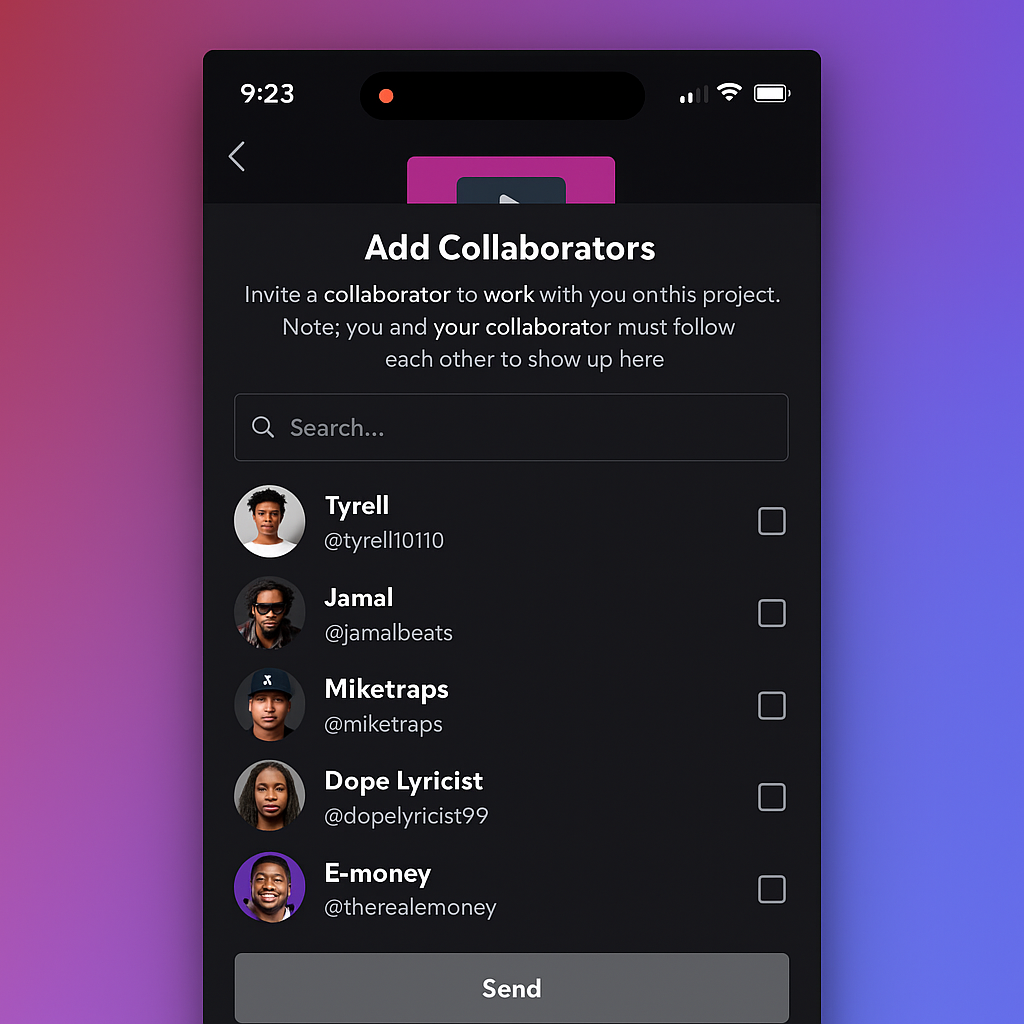
We just dropped a major update to Rapchat on iOS — version 11.7.0 — and it’s packed with powerful tools to take your music to the next level. Whether you’re laying down vocals, adding custom sounds, or building tracks with your crew, this update is all about giving you more control and creativity in the studio. 🎙️ 1. Import Any Audio File into Your Tracks You can now import audio files directly into your Rapchat studio projects. Import your ad libs, full vocal takes, sound effects, or custom
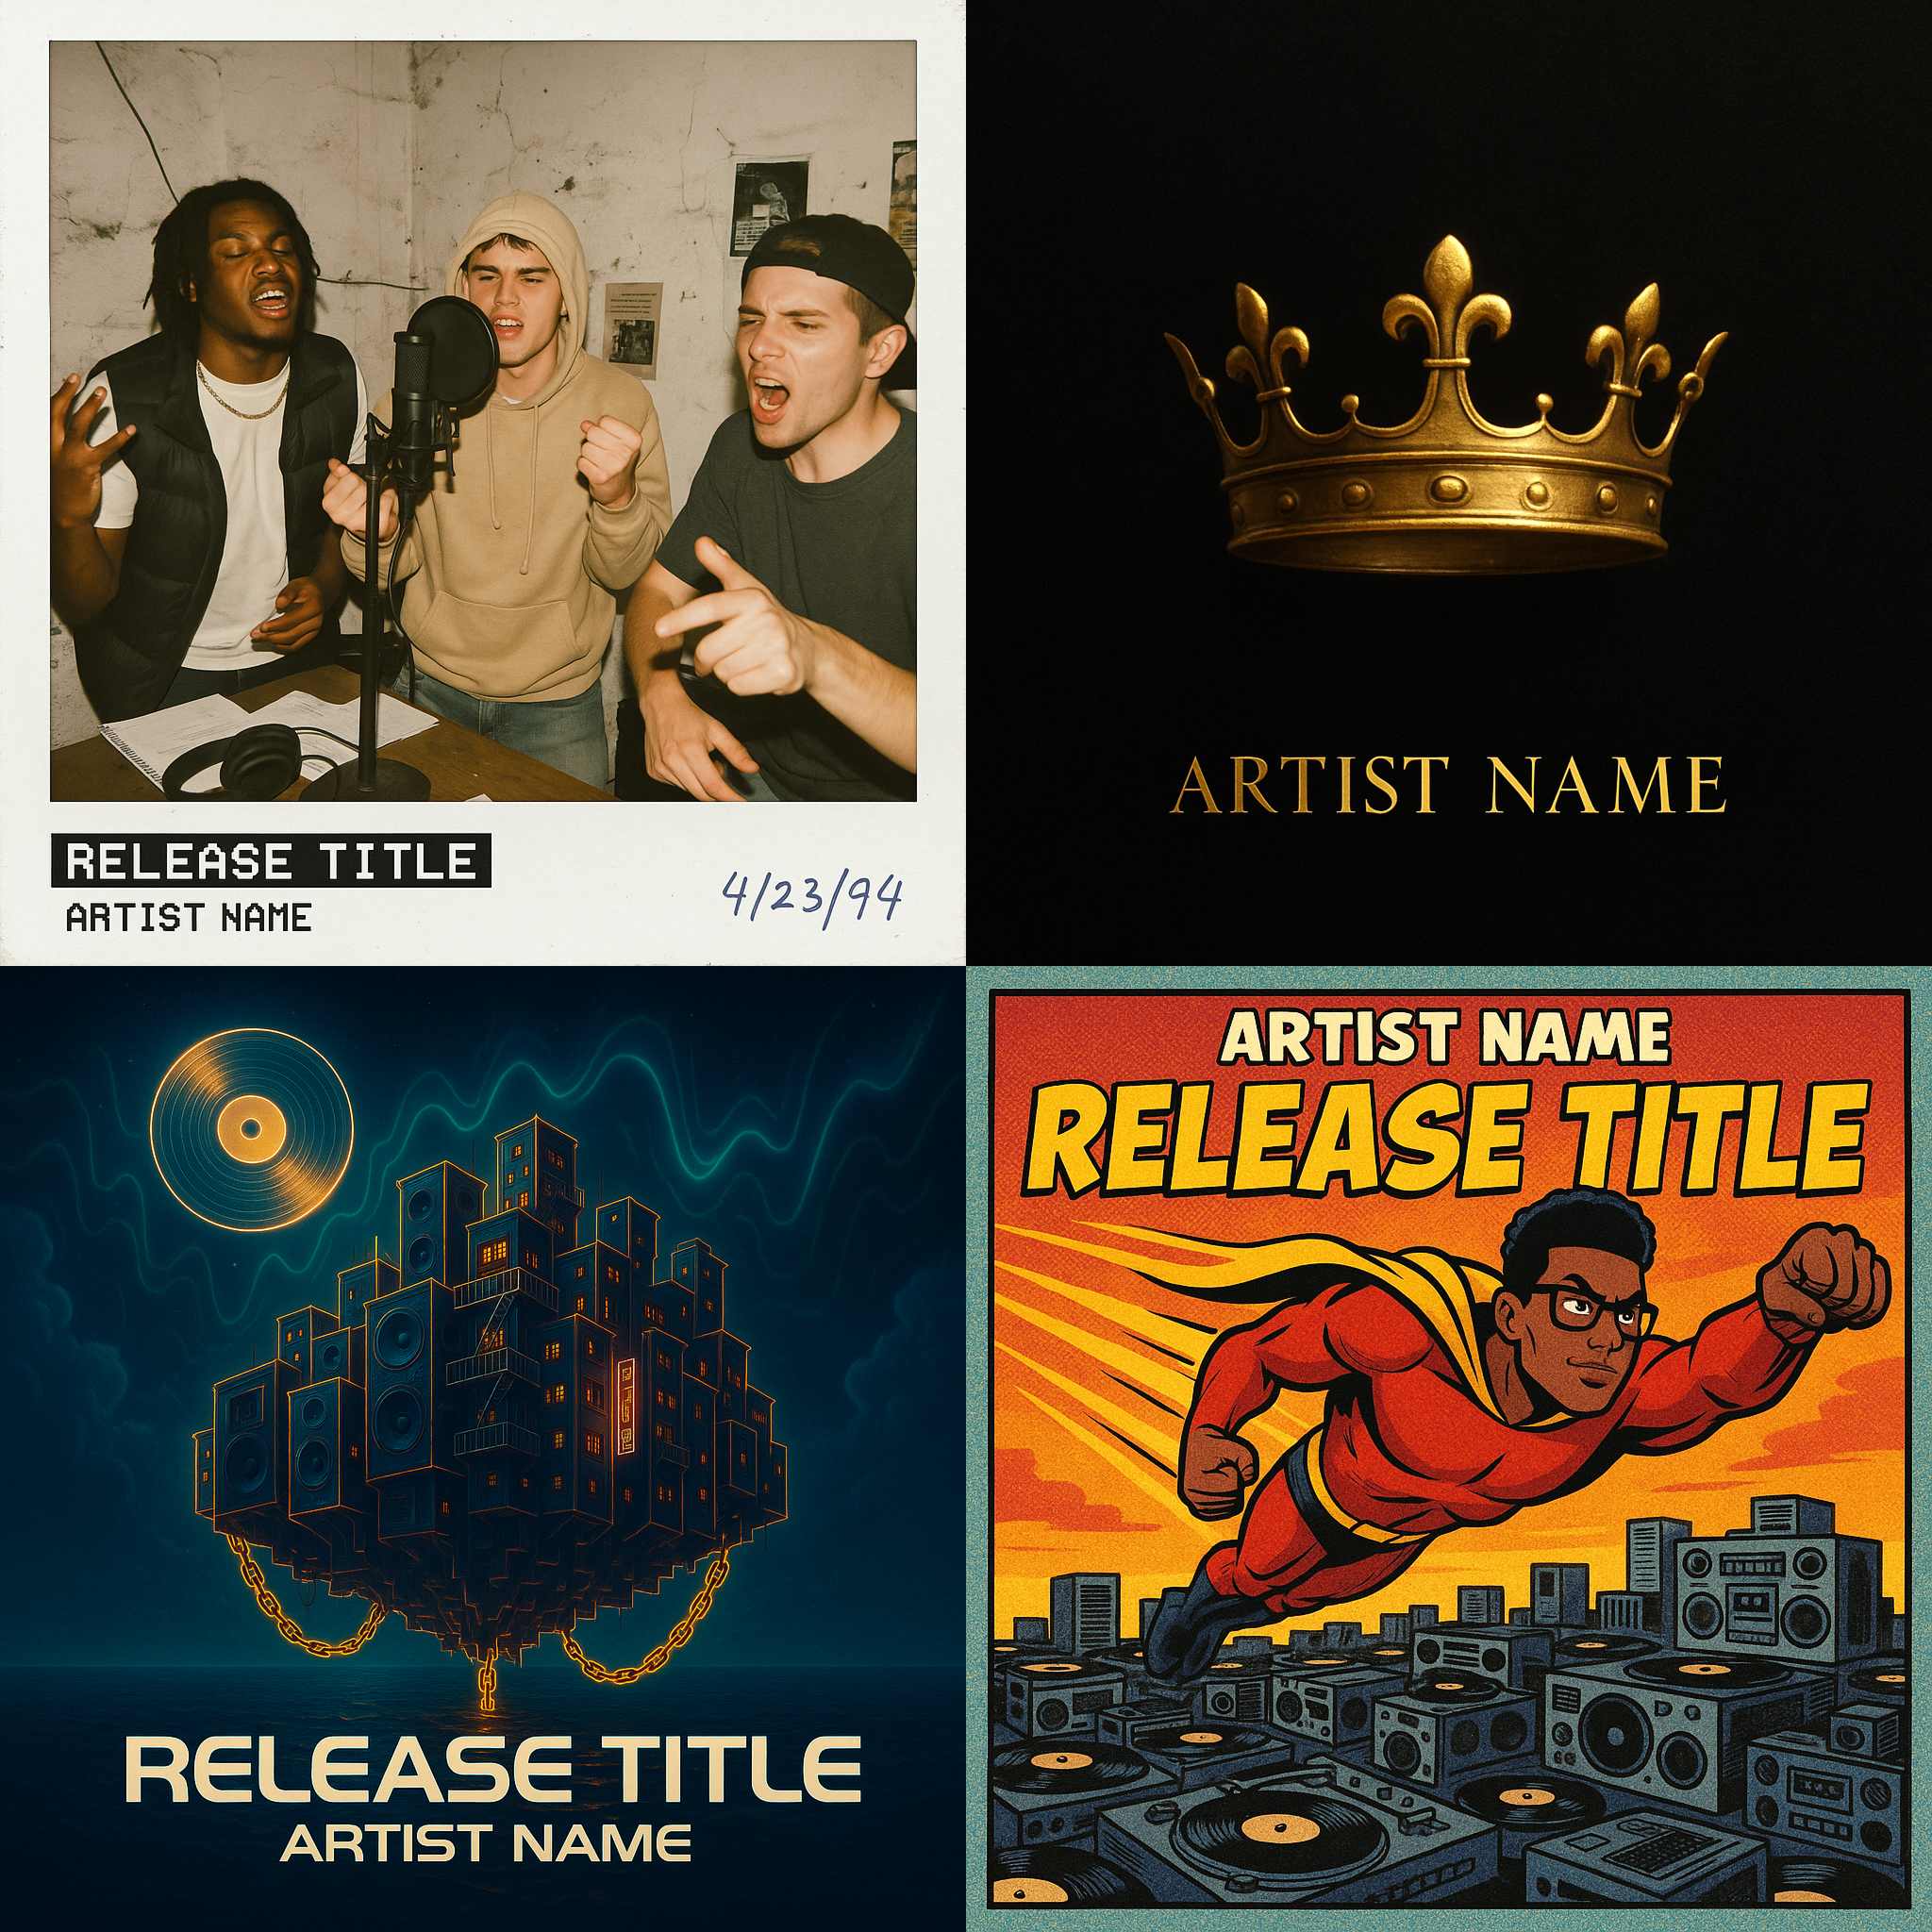
Copy and paste these prompts into ChatGPT or your favorite AI image generator to create cover art for your next release. Just replace "Artist Name" and "Release Name" as well as upload your own photo. Or get creative and branch off these with your own ideas or modifications! 1/ Surreal Urban Dreamscape Design 1:1 album cover art for "Release Title" by "Artist Name". The scene shows a floating city built from broken speakers, neon-lit buildings, and fire escapes, all suspended by chains over a

We’re excited to announce some huge upgrades to your creative toolkit – brand-new updated vocal effects are now available, offering more customization than ever to help you nail the perfect sound! And the best part? You can now generate new vocal effects using AI! 😱 Download iOS App ✨ Generate Vocal Effects w/ AI ✨ Now you can get the exact sound you’re looking for by generating custom vocal effects using AI! Simply describe the sound you’re going for, and let our AI do the magic. Whatever
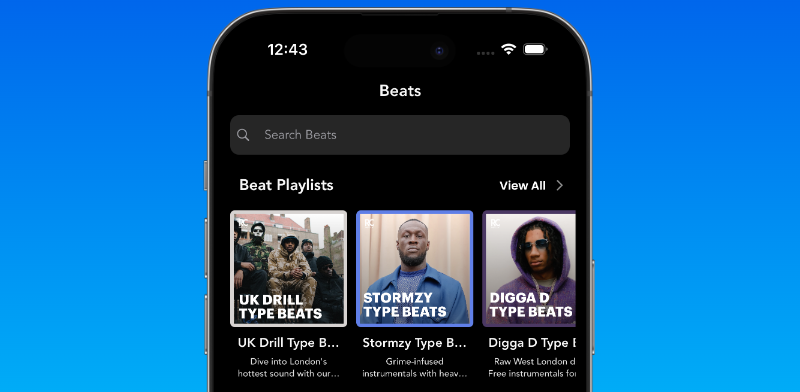
We just dropped a handful of authentic UK drill type beats. Whether you're a seasoned artist or just starting out, we've got the perfect backdrop for your next hit. Get started with these beats today and stay tuned as we continue to add more. Dive into the Heart of UK Drill Our curated playlists feature type beats inspired by the titans of UK drill: 1. Central Cee Type Beats: Capture that raw, unfiltered energy that's taken Central Cee to the top. 2. Digga D Type Beats: Bring that West Lon
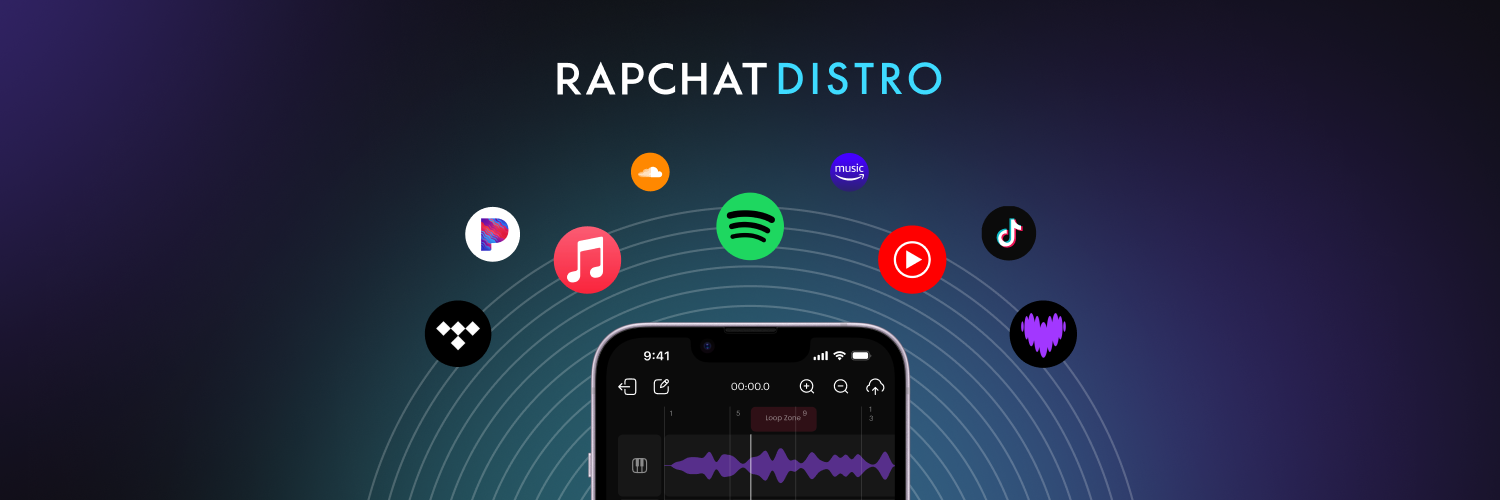
Getting your music on popular streaming platforms like Spotify and Apple Music is crucial for artists looking to reach a wider audience and earn revenue from their music. This process, known as music distribution, is typically handled by specialized companies called music distributors. What is Music Distribution? Music distribution is the process of making your music available on various streaming platforms and digital stores. Distributors act as intermediaries between artists and these platf
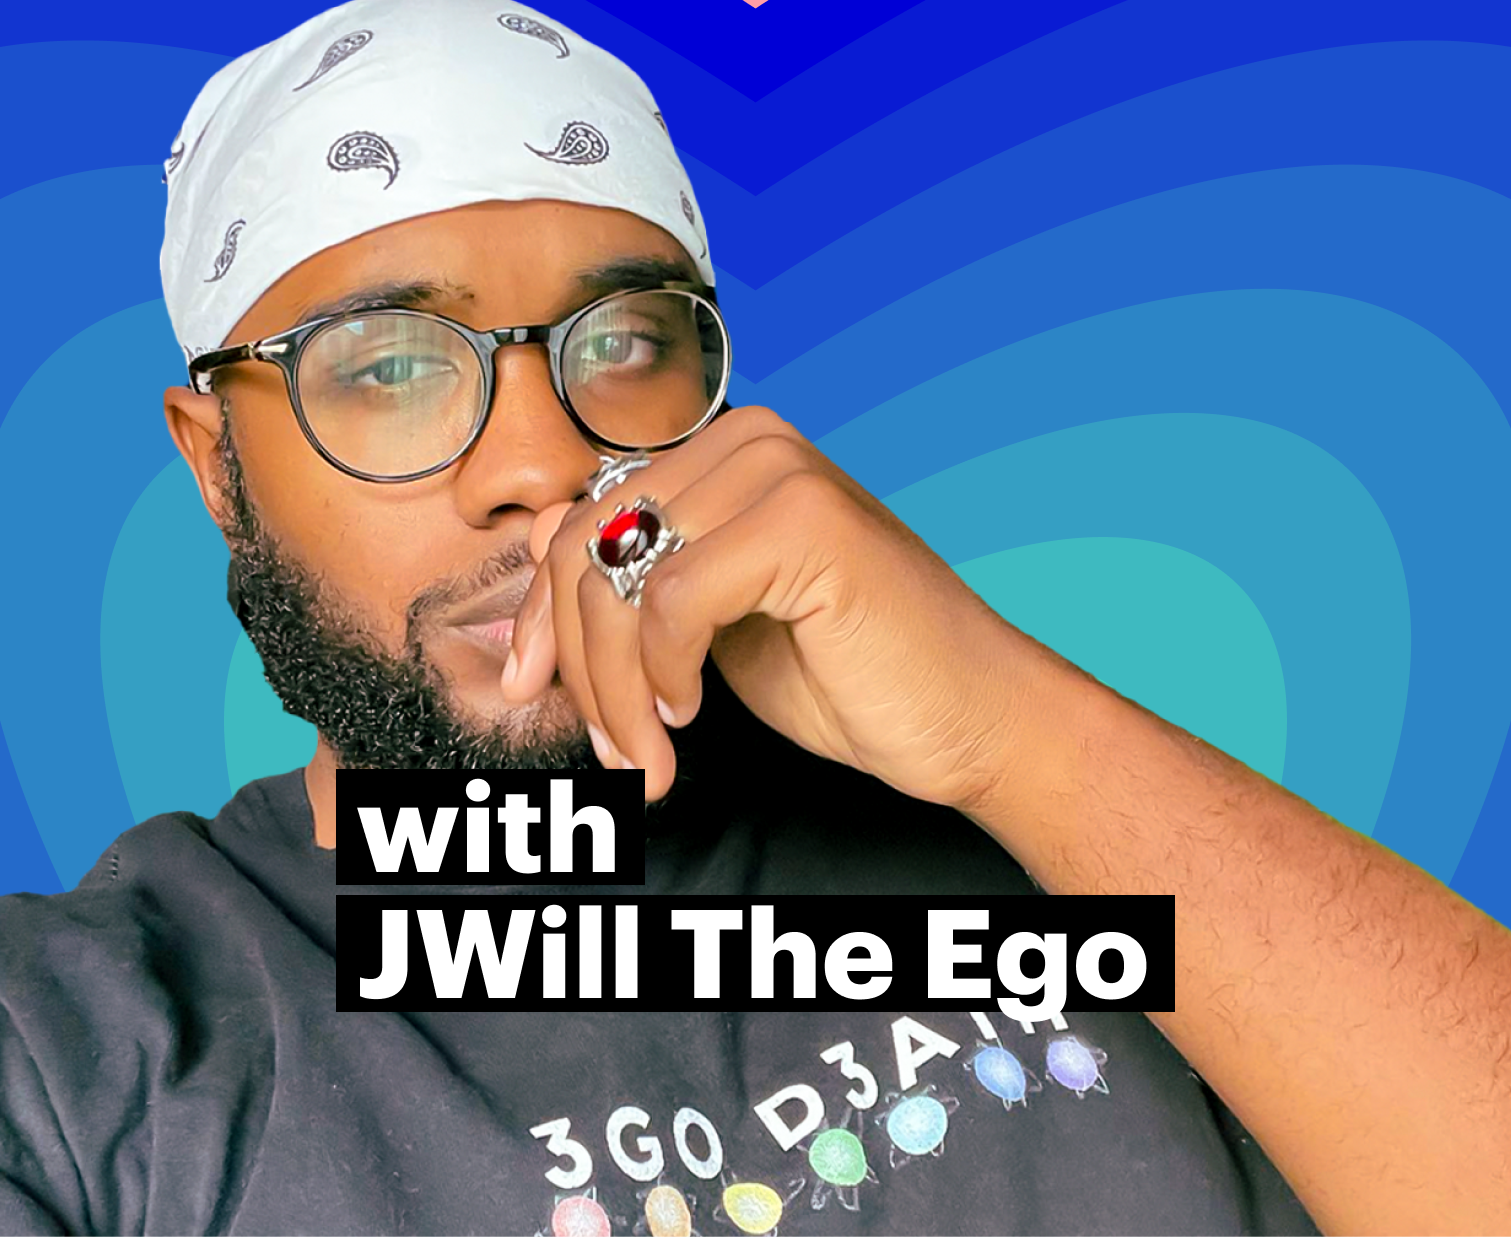
Watch how JWill The Ego records ad-libs and experiments with vocal effects to create an upbeat, high-energy rap song.
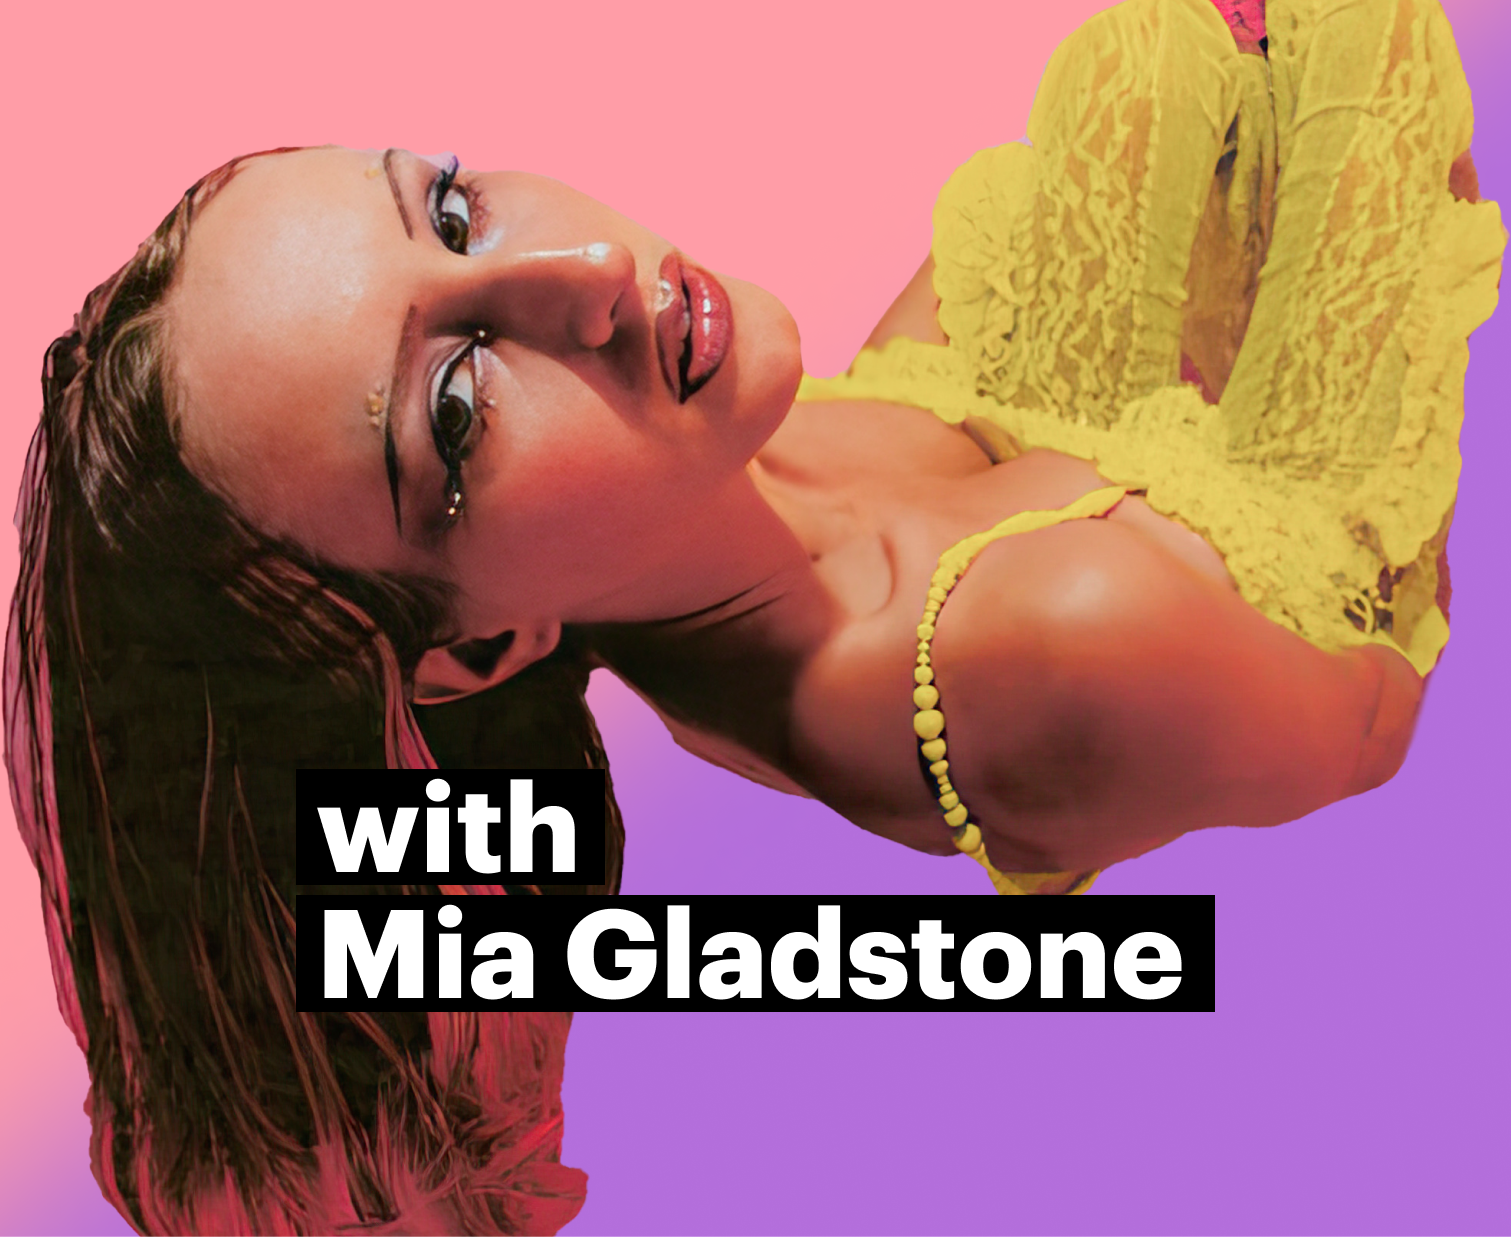
Watch how Mia Gladstone creates harmonies and experiments with vocal effects to create a lo-fi, neo-soul sound.
Watch how LIFEOFTHOM records ad-libs and stacks vocal layers to create a grungy, dark, and upbeat energy for his song, "HOUSE IS BURNING."
Watch how SheLailai records and stacks harmonies to create a pop sound for her vocals.
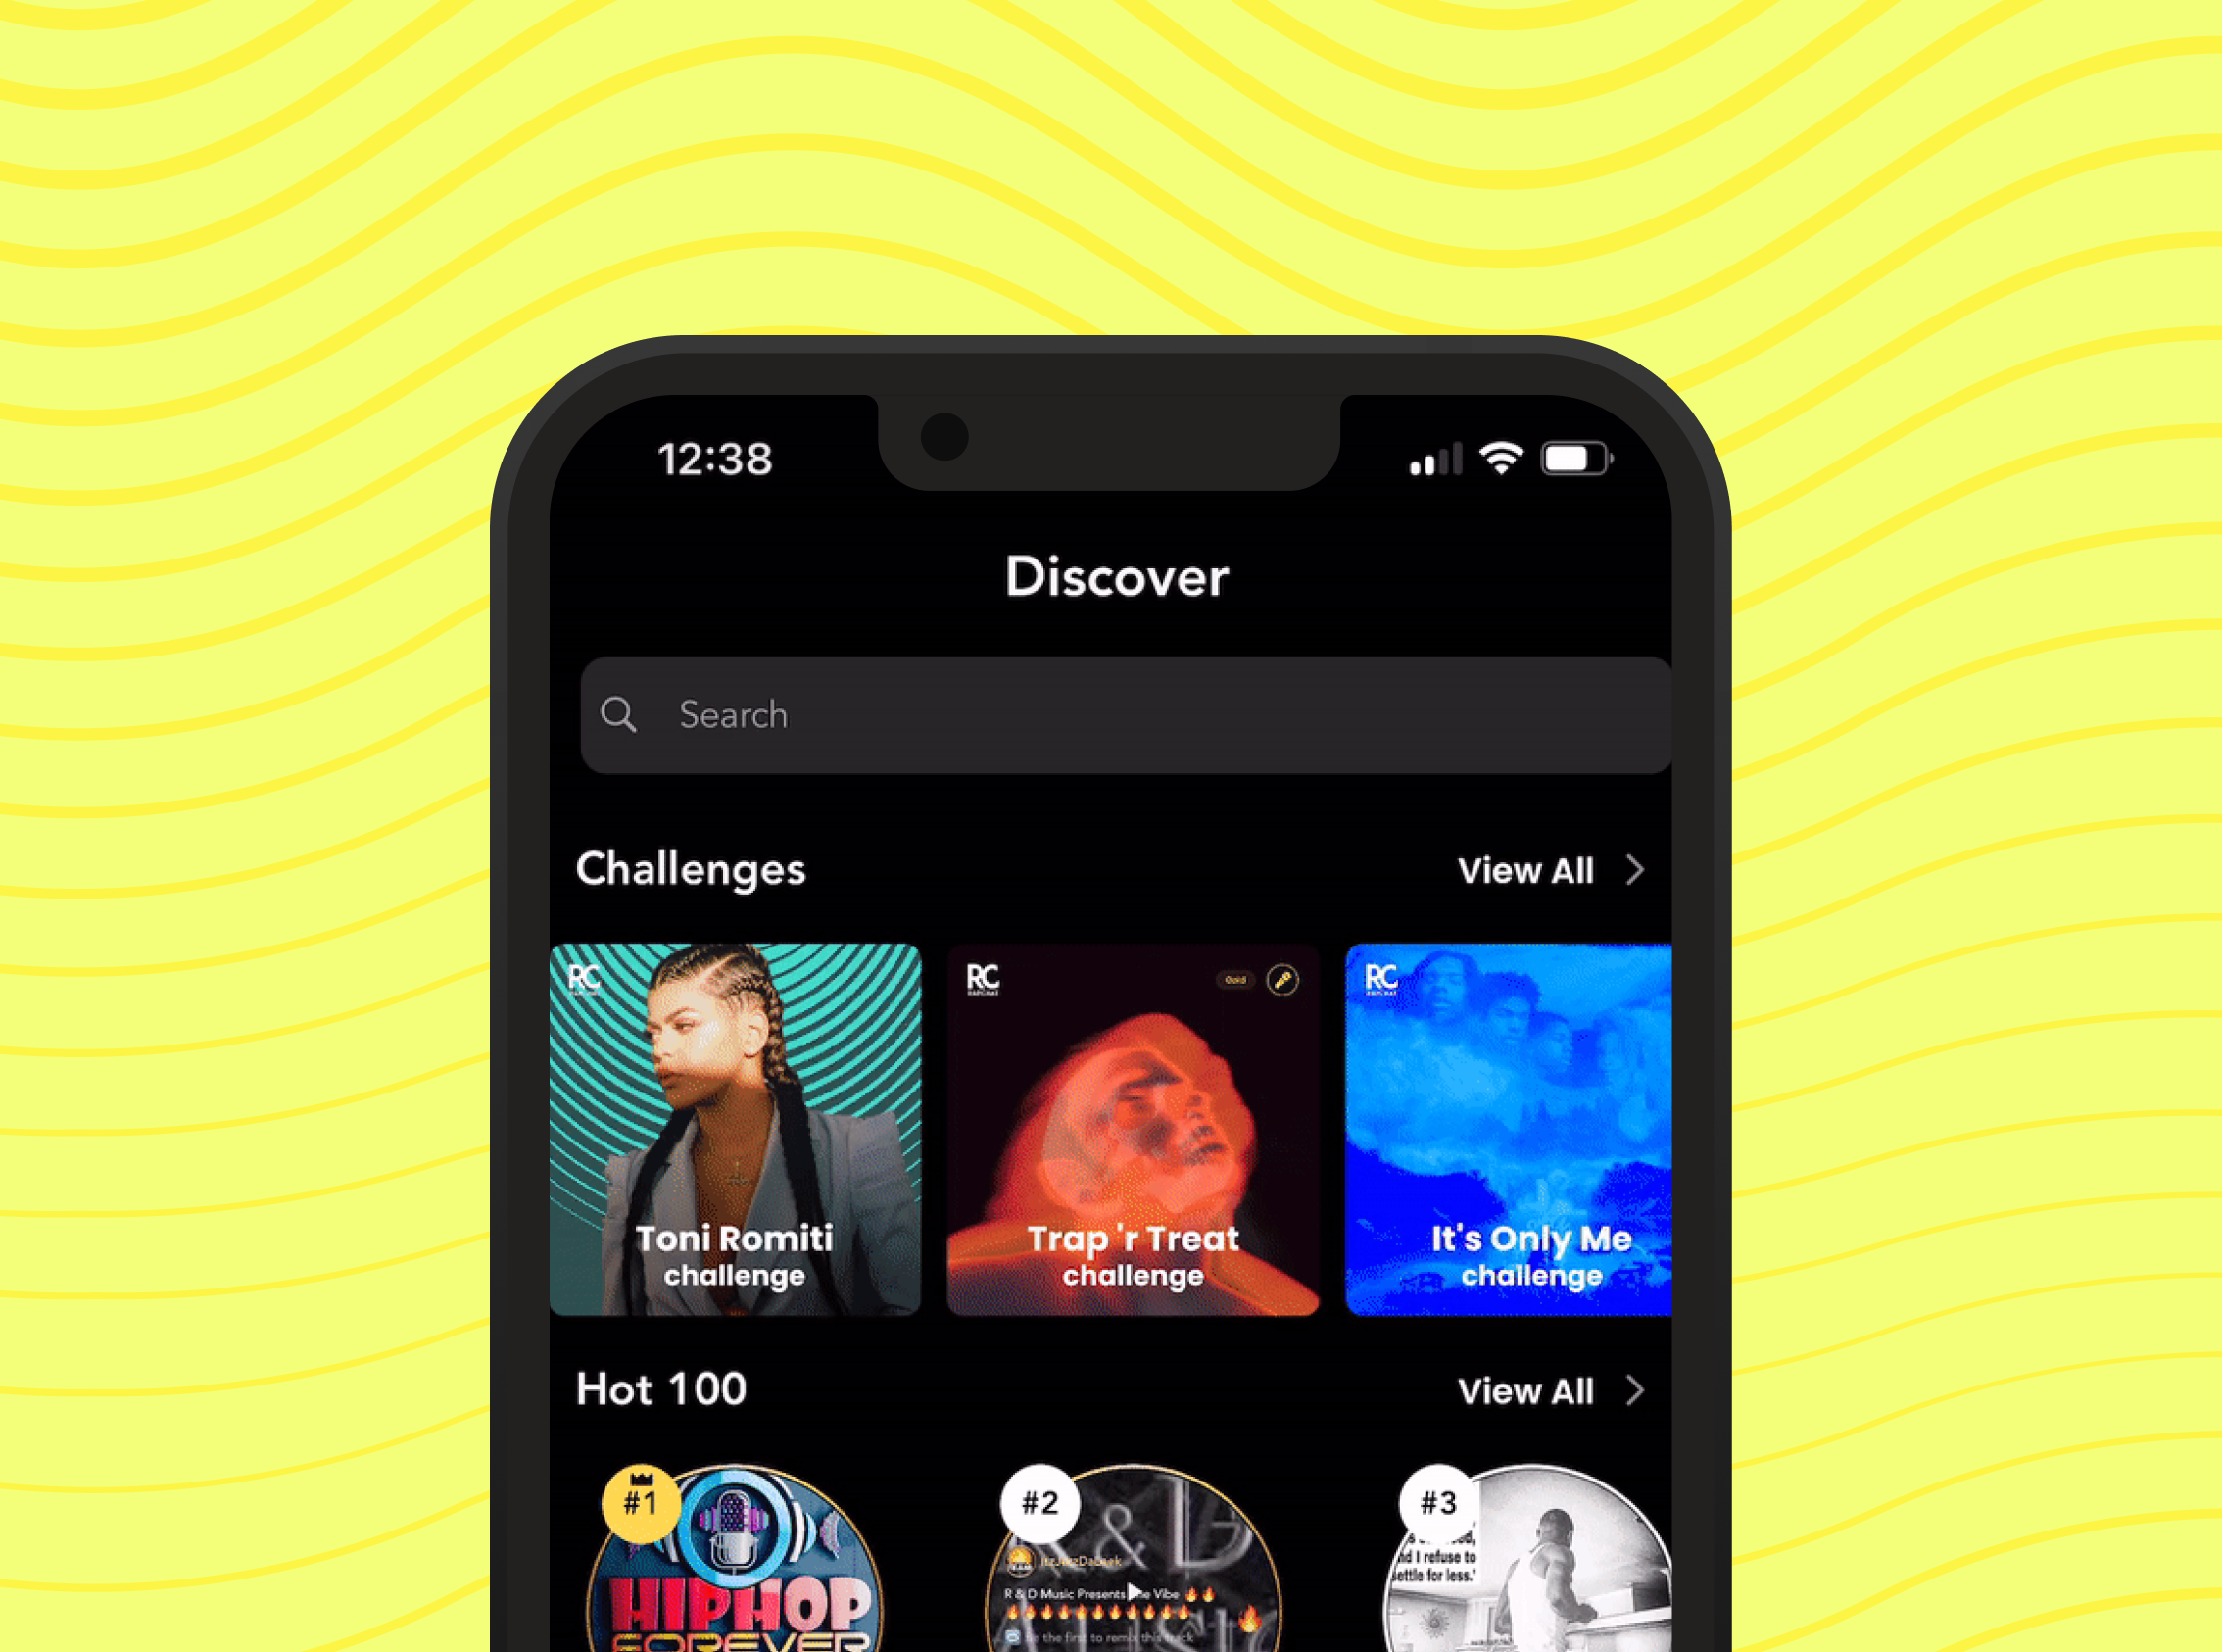
We've got a TON of new features packed into the new iOS 9.1.0 update... * Easy challenge entry - no more hashtags! * Find challenges easier * Browse beat playlists * Quick song uploads * Fresh new home feed * Better user reporting * Pro studio unlocked for ALL users Easy challenge entry - no more hashtags! We made it waaaay easier to find and enter artist challenges from our redesigned challenge platform. You no longer need to worry about using the right hashtag —just choose the way tha
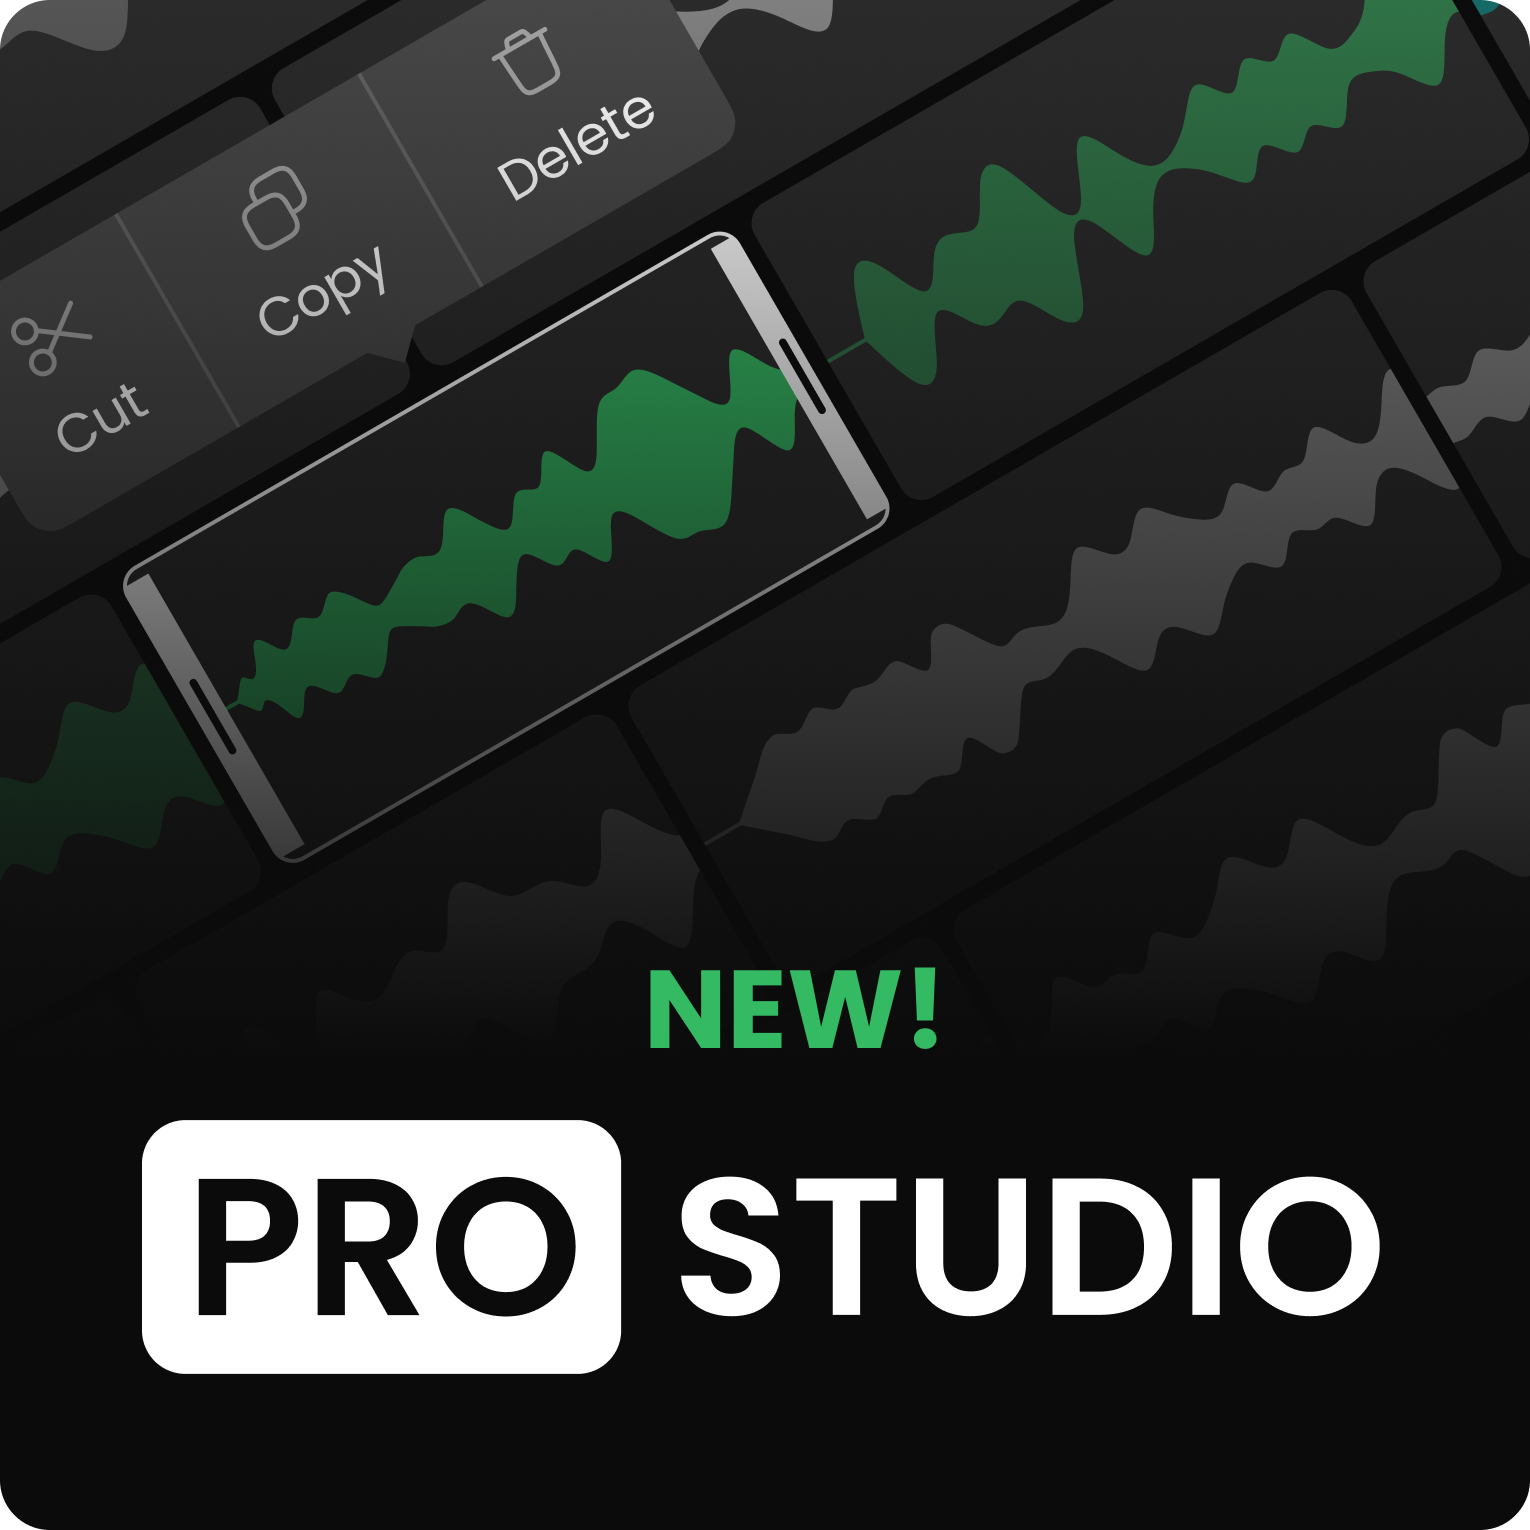
It's finally here! The all-new Rapchat Pro Studio empowers music creators everywhere to make streaming quality songs right on their phones. We’ve rebuilt our recording studio from the ground up with more powerful editing features such as: * Trim, splice, copy/paste, and drag vocals * Loop any portion of the song while recording * Duplicate, move, and rename layers * Zoom in and out to get more precision * Select the input microphone to get the best-quality recording * Auto Save and Undo/R

Writer's block? Here are 100 proven rap song topics to spark your next hit — from street stories and relationships to flex tracks and introspective bars. Plus, record over free beats in the Rapchat app.